In a timely reminder for pet owners, experts are urging caution when dealing with ticks, particularly those that attach themselves to a dog’s ear. As tick season peaks, it’s essential to know the best practices for removing these parasites safely and effectively.
Why Ticks Are a Concern
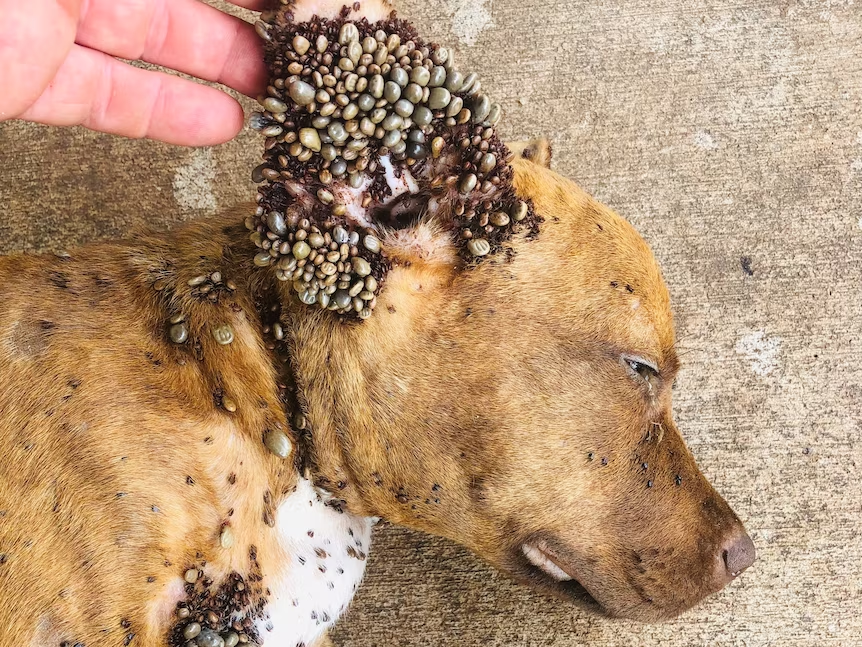
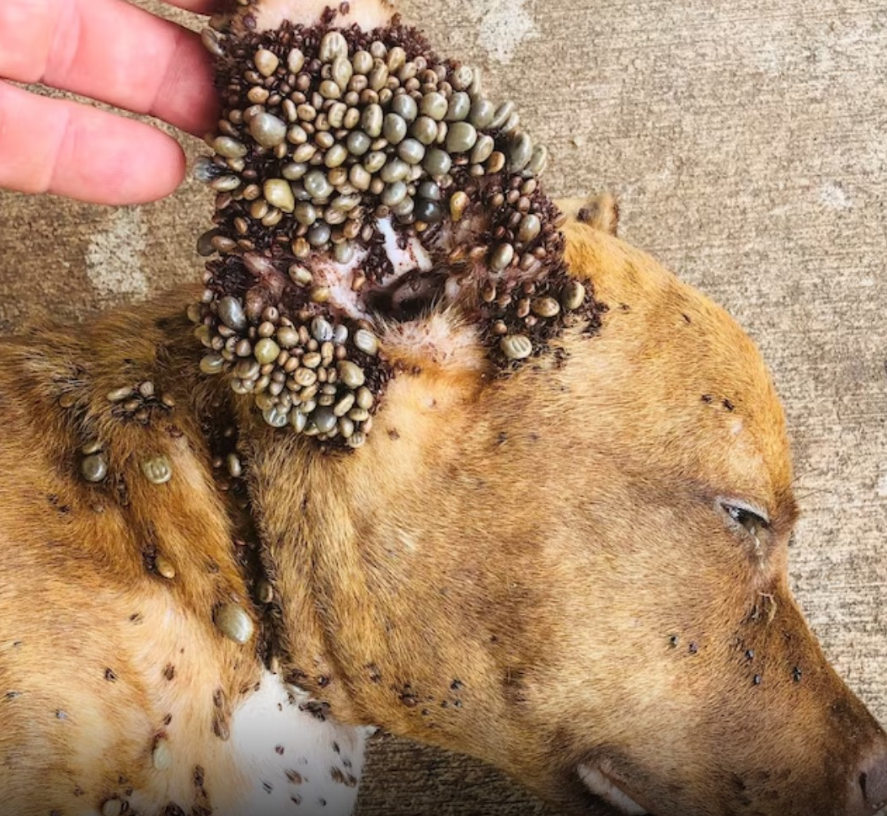
Ticks are small, blood-sucking parasites that can cause significant health issues for dogs. These include the transmission of diseases like Lyme disease, anaplasmosis, and ehrlichiosis, which can lead to serious, long-term health problems if not treated promptly. The ear is a particularly vulnerable area as ticks can easily latch on and hide within the folds, making them difficult to spot and remove.
Signs Your Dog May Have a Tick in Their Ear

Pet owners should regularly check their dog’s ears for signs of ticks. Symptoms may include:
- Constant scratching or pawing at the ear
- Head shaking or tilting
- Visible redness or swelling in the ear canal
- Unusual whining or discomfort
If any of these signs are present, a thorough inspection of the ear is necessary.
Steps to Safely Remove a Tick from Your Dog’s Ear

- Prepare the Necessary Tools: Before attempting to remove a tick, gather a pair of fine-tipped tweezers or a tick removal tool, gloves, antiseptic, and a container to dispose of the tick. Wearing gloves is crucial to prevent direct contact with the tick.
- Calm Your Dog: Keep your dog calm and steady. If possible, have someone assist you in holding your dog still. This will help prevent sudden movements that could make removal more difficult.
- Locate the Tick: Carefully part the fur and inspect the ear for any signs of the tick. Ticks can be tiny, so a close inspection is necessary. They often appear as small, dark spots on the skin.
- Remove the Tick: Using the tweezers or tick removal tool, grasp the tick as close to the dog’s skin as possible. Gently and steadily pull the tick out, avoiding any twisting or jerking motions. This method ensures that the entire tick, including its head, is removed.
- Clean the Area: Once the tick is removed, clean the area with antiseptic to prevent infection. Dispose of the tick by placing it in alcohol or flushing it down the toilet.
- Monitor Your Dog: After removing the tick, monitor your dog for any signs of infection or illness. If your dog exhibits unusual symptoms, such as lethargy, fever, or loss of appetite, consult a veterinarian immediately.
Prevention is Key
The best way to protect your dog from ticks is through prevention. Regularly check your dog, especially after walks in wooded or grassy areas. Additionally, consider using tick prevention products like collars, spot-on treatments, or oral medications as recommended by your veterinarian.
Conclusion
Ticks are a common issue for dogs, particularly during peak seasons. By staying vigilant and knowing how to remove ticks properly, pet owners can protect their dogs from potential health risks. Always consult a veterinarian if you’re unsure about removing a tick or if your dog shows signs of illness after a tick bite.